Tattoo Flash · Jul 27, 2026 · 14 min read
Tiny Tattoo Flash Day Workflow: Menu Codes, Client Choices, and Studio Handoffs
A practical studio workflow for turning a large tiny-tattoo bundle into a focused flash-day menu, coded choices, clear selection records, and a controlled handoff to the artist's professional review and stencil process.
Confirm the current bundle fits a flash-day menu
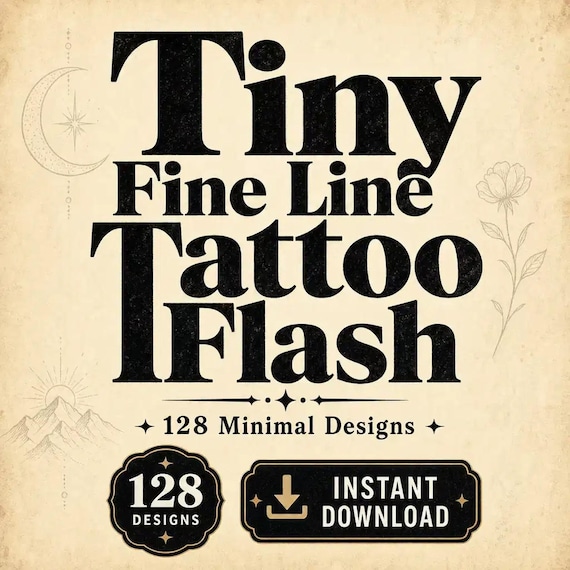
Start with the current contents and terms, not the phrase “flash day” by itself. The featured SteadyStackStudio Tiny Fine Line Tattoo Flash Bundle is described as 128 separate transparent PNG designs on 1200 × 1200 pixel canvases, eight themed A4 PNG sheets, eight matching A4 JPG sheets, one eight-page A4 PDF, three organized ZIP downloads, and a README. The themes are celestial, botanical, animals, lucky and love, nature and adventure, mystical, creative and café, and playful objects. That combination gives a studio both overview sheets for browsing and individual images for its own working references.
The current listing also describes the artwork as a digital reference bundle that may be used for client tattoo work and flash-day displays under its stated license. It is not a physical flash book, temporary tattoo, ready-made transfer, vector pack, Procreate brush set, appointment system, consent packet, or professional review service. Open the latest listing, preview images, README, and license before building an event around the files. If your workflow depends on a format, permission, or design that is not explicitly shown, confirm it before purchase rather than filling the gap with an assumption.
- Verify the current file list, previews, digital-delivery note, disclosure, and license.
- Confirm that your device can extract ZIP files and open PNG, JPG, and PDF files.
- Treat the supplied art as reference material that still enters the artist's normal review and preparation process.
- Do not expect booking, payment, intake, consent, transfer, printing, or tattoo service to be included.
Protect the masters and create one event workspace
Download the ZIP files through the supported Etsy process, read the supplied notes, and keep one untouched copy of the original download. Extract a clean master folder without renaming or rearranging it on the first pass. That folder is the source library. Create a separate event workspace for the date, location, or campaign you are preparing, then copy only the files being considered into it. This protects the purchase from accidental crops, compression, overwriting, or a hurried edit made during event setup.
Inside the event workspace, separate display drafts, approved menu files, working selection records, and artist-only preparation files. A simple folder structure is enough if every person using it understands which copy is current. Do not work directly from screenshots when the clean downloaded file is available, and do not place the full source library in a shared client folder. The download does not supply this workspace or a status tracker; those are operating controls the studio creates around the art. Keep the original filename or source note attached to every selected design so the clean file can be found again without searching by appearance.
- Keep the original ZIP files and one untouched extracted master.
- Build the event from copies in a clearly dated working folder.
- Separate client-facing display files from artist-only source and preparation files.
- Retain a source filename or theme note for every option placed on the menu.
Define the event menu before choosing individual designs
Decide what the menu must help people do. A focused studio flash day may need a limited set that can be browsed quickly, discussed clearly, and routed to the right artist. Write the event's own scope before opening every sheet: which artists are participating, which style family is being featured, how many options can be handled comfortably, whether choices may repeat, whether adaptations are considered, and how availability will be shown. These are studio decisions, not settings embedded in the download.
Keep the menu narrower than the source library when a smaller choice set will make the day calmer. The 128-design bundle can remain the master library while the event presents a deliberately chosen subset. A botanical feature, a mixed tiny-symbol board, or a playful-object collection will create different browsing experiences. Do not advertise a design, size, placement, price, time slot, or service condition until the responsible artist and studio have reviewed what they are prepared to offer. The menu should reflect real capacity and current policies rather than displaying every possible file simply because it exists.
- Set the theme, participating artists, menu size, event window, and selection rules first.
- Choose a subset the studio can actually review and serve well.
- Keep the complete download as the library rather than forcing all 128 designs onto one display.
- Approve service claims, availability, and event wording before the menu becomes public.
Curate from the supplied themes in two passes
Use the eight themed sheets for the first pass. Review one theme at a time and mark candidates that fit the event's visual direction. Do not begin by dragging individual PNG files into a blank page at random; the overview sheets make it easier to see whether the final menu is balanced or accidentally repetitive. Look for enough variation that clients can compare meaningful options without mixing styles the participating artist does not intend to offer together.
For the second pass, test the candidate group as one menu. Check whether several designs are so similar that clients will struggle to describe the difference, whether one theme dominates unintentionally, and whether the board has a clear browsing order. Remove options that do not fit the event even if they are attractive on their own. This is curation, not a judgment that an image is ready for tattooing. The responsible tattoo professional must still assess line work, scale, placement, adaptation, and stencil preparation for the individual person and the actual service. Save the rejected event candidates in the master library; they may suit a different menu later.
- Browse by the supplied theme sheets before opening individual PNG files.
- Make a broad candidate pass, then a smaller event-menu pass.
- Remove near-duplicates or off-theme options that make the board harder to browse.
- Leave technical tattoo decisions to the responsible professional's normal process.
Assign stable choice codes without losing the source identity
Give every displayed option a short, unique code that clients and staff can read aloud. A studio might use a theme letter plus a number, but any system works if it is unambiguous and remains stable throughout the event. Avoid relying on descriptions such as “the little moon near the corner” when several options share a motif. Put the code beside the display copy and record the matching original filename or source location in an internal key.
Do not rename the only clean source file to match an event code. Codes belong to the event menu; source filenames belong to the purchased library. If a design moves to a different board, keep the code stable or document the change before clients see it. Check for characters that are easy to confuse, such as the number one and a capital I, and avoid tiny labels that disappear in print or on a phone screen. The featured download does not include preassigned event codes or a code key, so create and proof this layer yourself. A reliable code should lead from the public board to one and only one clean source.
- Use one short, unique code per displayed design.
- Map each code to the original filename or exact source location in an internal key.
- Keep event codes out of the untouched master library.
- Proof labels for duplicates, ambiguous characters, clipping, and legibility.
Build the browsing menu separately from the production source
A client-facing menu is a navigation tool, not the production file. Use the supplied full sheets or copies of the individual transparent PNGs to make a clean display that shows the approved event subset and its codes. Keep spacing generous enough that neighboring designs do not appear connected. Add only the information the studio has reviewed for the event, such as the event name, choice code, artist assignment, or a simple status marker. Avoid crowding the board with intake questions, dense policy text, private notes, or technical preparation instructions.
Export and reopen the final browsing file, then inspect the actual printed page or device on which clients will see it. Confirm that the codes remain attached to the correct designs and that no draft option appears by mistake. Keep the higher-quality downloaded source available behind the scenes instead of treating the exported menu image as the file for later preparation. If you need step-by-step guidance on PNG, JPG, PDF, A4 printing, or measured test pages, use the companion printable tattoo flash guide. This workflow deliberately keeps the flash-day menu task separate from the technical file-and-print setup task.
- Use a display copy for browsing and retain the clean downloaded source separately.
- Give each design enough space and keep its code visually attached.
- Remove drafts, private notes, and unapproved service claims before export.
- Reopen and inspect the final menu on the device or paper clients will actually use.
Set selection, repetition, and adaptation rules before booking opens
Decide how a choice changes status. Some studios may offer repeatable flash, while others may retire a choice after it is claimed; some may consider small adaptations, while others may keep the event menu fixed. Neither approach is supplied by the artwork file. Write the event rule in clear language, make sure participating artists agree, and use the same wording on the booking page, menu, confirmation, and staff reference. If a client asks for a change outside the reviewed event scope, route it to the responsible artist instead of promising it at the front desk.
Review the current license as part of this decision. The featured listing presently describes use for personal tattoos, client tattoo work, flash-day displays, and adaptation for an individual client, while prohibiting resale, redistribution, sharing, sublicensing, or uploading the digital files as competing assets. The downloaded README and current listing should be checked for the terms that apply to the purchase. A studio policy cannot expand the seller's license, and the asset license does not determine the studio's pricing, booking, consent, repeat-use, or professional obligations. Keep those layers clear.
- Choose and publish one reviewed rule for repeatable or one-time selections.
- State whether adaptation requests are considered or moved outside the event menu.
- Use the same rule in public copy, confirmations, and staff instructions.
- Follow the current asset license without treating it as a substitute for studio policies or professional requirements.
Capture one controlled record for every client choice
When a client chooses an option, record the event code in the studio's approved appointment or client system along with the responsible artist, appointment or queue reference, current status, and any question that still needs professional review. Use the minimum personal information needed under the studio's normal privacy process. The purpose is to stop a verbal choice, direct message, paper note, and calendar entry from becoming four different versions of the same decision.
Mark the selection as requested until the studio's actual confirmation steps are complete. A requested code is not automatically an approved design, reserved appointment, paid booking, consent record, or final stencil. If the client changes choices, preserve enough history to understand what was superseded and make the active code unmistakable. Update the public availability board only through the person assigned to control it. The tattoo bundle contains artwork, not a prebuilt selection database or appointment form, so use the business system the studio has reviewed rather than suggesting that the download records clients on its own.
- Record the code, artist, appointment or queue reference, status, and open question in one approved system.
- Distinguish requested, held, confirmed, changed, completed, and released statuses as your process requires.
- Make one active choice clear when a client changes direction.
- Keep unnecessary personal details out of public boards and informal working notes.
Keep artwork choice separate from intake, consent, payment, and care
A flash code answers one question: which visual reference is being discussed? It does not answer whether the appointment is appropriate, whether required intake has been completed, what consent is needed, what the final price is, whether a deposit was received, what preparation applies, or what aftercare the responsible professional provides. Keep each of those steps in the studio's reviewed process and do not compress them into a check mark beside the artwork.
Use current local requirements, professional standards, insurance conditions, sanitation procedures, manufacturer instructions, and qualified guidance for the service. Handle health information, identification, age or guardian requirements, consent, records, and retention according to the studio's approved methods. The art download is not medical, legal, licensing, infection-control, or tattoo training. If a client question affects suitability, placement, healing, medication, skin, allergy, or another professional decision, pause the menu workflow and route the question to the qualified person responsible. A clean separation keeps a convenient browsing board from being mistaken for the complete service process.
- Treat the design code as a reference, not consent or service approval.
- Run intake, identification, consent, payment, preparation, and aftercare through separate reviewed systems.
- Protect private and health-related information under the studio's established practices.
- Escalate professional questions instead of answering them from an artwork menu.
Hand the selected reference into professional review and preparation
Once the choice reaches the studio's confirmed stage, give the responsible artist the code, the clean original source, the client's stated preferences, and the appointment context the studio is permitted to use. Do not hand off only a screenshot of the public menu. The current bundle's individual transparent PNG files can make a clean reference easier to locate, but they remain raster images and are not a promise that the displayed art can be used unchanged at any size or placement.
The artist should review the design through the studio's normal process, including line spacing, orientation, scale, placement, adaptation, and stencil preparation. Record any approved change in the active appointment record and update the code key only if the menu itself changes. Keep draft edits out of the master library and label working versions so the final reviewed reference is obvious. If the design is not suitable under the professional's judgment or the client's actual needs, return the choice to review rather than forcing the menu image through production. The handoff is successful when the artist can trace the decision back to the clean source and the current confirmed record.
- Provide the artist with the code, clean source, current record, and relevant client request.
- Do not use a compressed menu screenshot as the only preparation file.
- Keep proportions locked in references and let the professional determine final scale, orientation, and adaptation.
- Label drafts and approved working versions without altering the untouched source library.
Run opening, change, and closing status checks
Before the event opens, compare the public menu, internal code key, artist assignments, and availability list. Every displayed code should resolve to one source, every source on the menu should be approved for the event, and every public statement should match the current studio plan. Remove yesterday's drafts and test links from the devices or print station clients will use. Give staff one place to report a new request, hold, confirmation, release, or change.
During the event, update status through that controlled list rather than marking one paper board while leaving the booking page unchanged. When a design becomes unavailable under the event's rule, make the update visible where clients are browsing and confirm that active appointments still point to the correct source. At closing, reconcile the menu against the appointment or queue records. Do not infer completion from a crossed-out code alone. A final status check should identify unresolved holds, changed choices, no-shows handled under studio policy, and files or notes that need to move into the correct record.
- Open with matching menu, code key, artist assignment, and availability information.
- Use one authorized path for holds, confirmations, releases, and changes.
- Reflect status changes wherever clients are actively browsing.
- Close by reconciling the menu with the studio's actual records, not with memory.
Close the workspace without exposing client or source files
After the event, separate the records the studio must retain from temporary display drafts and casual working notes. Store appointment and client information only in the approved system and under the studio's privacy and retention practices. Remove personal information before using a process lesson in a future checklist. Do not leave a shared menu folder containing client names, private notes, or the complete purchased source library.
Archive the final event menu, code key, and clean process notes if they are useful for another date, but keep the original downloaded files in their protected master location. Delete or restrict public links and temporary device copies according to the studio's process. Review where confusion occurred: a duplicate code, an unreadable label, an unclear repeat rule, a stale availability board, or a handoff that lacked the clean source. Improve the blank event workflow rather than rewriting the history of a completed appointment. The best reset leaves the purchased assets protected, retained records where they belong, and a cleaner empty workspace ready for the next approved menu.
- Move retained client information into the approved record system.
- Remove private details and purchased source files from public or temporary sharing locations.
- Archive the final menu and code key separately from untouched masters.
- Turn lessons into a clean reusable checklist without changing completed records.
Choose the broad tiny-design library or a narrower motif pack
Choose the featured Tiny Fine Line Tattoo Flash Bundle when the studio wants a broad source library with 128 separate transparent PNG designs, eight themed A4 overview sheets in PNG and JPG, and one compiled PDF. It is the strongest match here because individual files support a coded internal key while the themed sheets support fast curation. Review the latest listing and README before use, and skip it if you need vector paths, layered source files, a physical book, ready-made transfers, a custom commission, booking software, consent forms, or tattoo service.
Choose a narrower pack when the event is built around one visual direction. The current related catalog includes Gothic Moth for a dark floral insect direction, Minimal Heart for small love symbols, Cowboy Western for boots, hats, and western motifs, Fine Line Ocean for waves and shells, Witchcore Botanical for moon-and-floral imagery, and Celestial Sun Moon for stars and celestial symbols. Their current file lists and licenses are not identical to the featured bundle, so inspect each product rather than assuming every pack includes separate transparent cutouts or the same sheet count. Select the smallest current pack that matches the menu you can review and serve well.
- Use the 128-design bundle for broad themed curation and individual PNG references.
- Use a focused motif pack when one coherent event direction matters more than breadth.
- Check each product's exact JPG, PNG, PDF, transparency, sheet-count, disclosure, and license details.
- Do not purchase when the current previews and files do not support the studio workflow you actually use.
Printables used in this guide
Instant downloads from the SteadyStackStudio Etsy shop.
Fine Line Tattoo Flash Sheet Bundle
Tiny Fine Line Tattoo Flash Bundle — 128 minimal designs in one instant-download pack. A practical gift for a tattoo artist or…
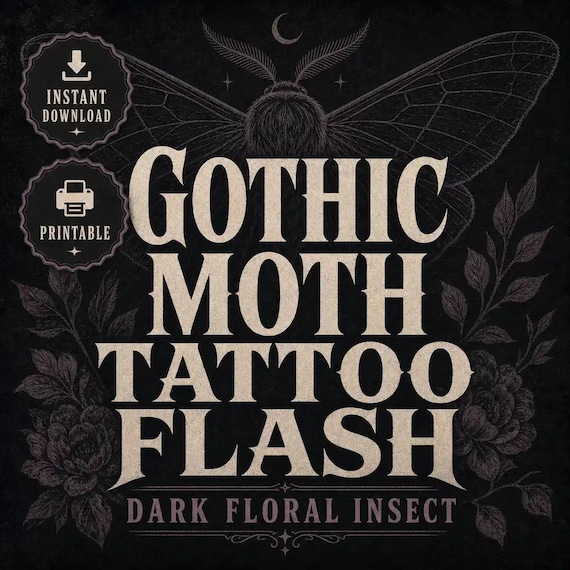
Gothic Moth Tattoo Flash Sheet
I built these gothic moth tattoo flash sheets for blackwork and dark-floral studios that need ready-to-print moth and insect…
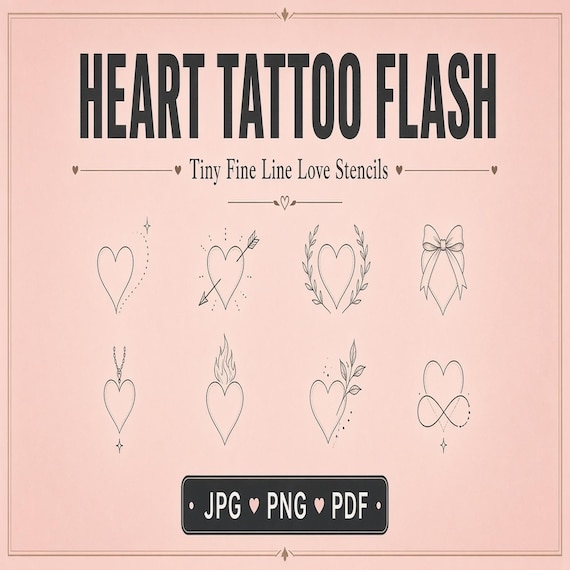
Tiny Heart Tattoo Flash Sheet
I built these minimal heart tattoo flash sheets for tiny fine-line studios that need ready-to-print love motifs without redrawing…
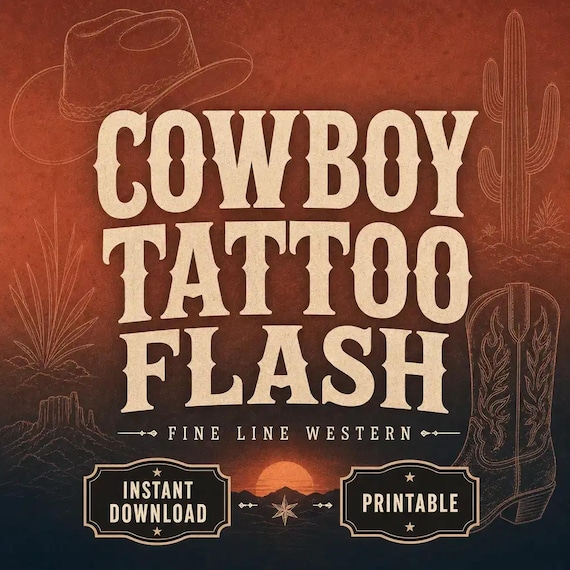
Cowboy Tattoo Flash Sheet
I built these cowboy tattoo flash sheets for western tattoo studios and fine-line artists who need ready-to-print boot, hat, and…