Tattoo Flash · Jul 11, 2026 · 10 min read
How to Use Printable Tattoo Flash Sheets: File Formats, Sizing, and Test Prints
A practical setup guide for choosing the right PNG, JPG, or PDF, organizing a flash bundle, making useful reference sheets, testing print scale, and preparing design questions for a tattoo consultation.
Choose the file by the job you need to do
A printable tattoo flash bundle can contain several versions of the same artwork because browsing, printing, and arranging individual designs are different jobs. Begin by deciding what you need in the next ten minutes. If you want to scan a full collection, open a complete flash sheet or compiled PDF. If you want to place one design on a clean reference page, use an individual image file when the bundle includes one. If you only want to compare themes, stay with the overview sheets until you have a short list.
This simple choice prevents unnecessary editing. You do not need to extract every image from a sheet just to mark favorites, and you do not need to rebuild a printable layout when a ready-made PDF already fits the review job. Keep the download as reference artwork throughout this process. A tattoo professional should review the chosen design, line weight, scale, placement, adaptation, and final stencil preparation before anything is used on skin.
- Full PDF: browse or print the collection in a stable page order.
- JPG or PNG flash sheet: open one themed sheet quickly in an image or layout app.
- Individual PNG: place one design in a reference layout without isolating it from a full sheet.
- Professional review: confirm what must change for the intended size and placement.
Understand what PNG, JPG, and PDF do differently
PNG and JPG files are raster images, which means they are built from pixels. They are convenient in many image, presentation, and page-layout apps, but they are not infinitely scalable like vector artwork. A JPG is usually easy to preview, email, and print as a complete sheet. A PNG can also hold a complete sheet, and some PNG files can preserve transparency. Never assume every PNG is a transparent cutout; check the listing and open the file over a contrasting background when transparency matters.
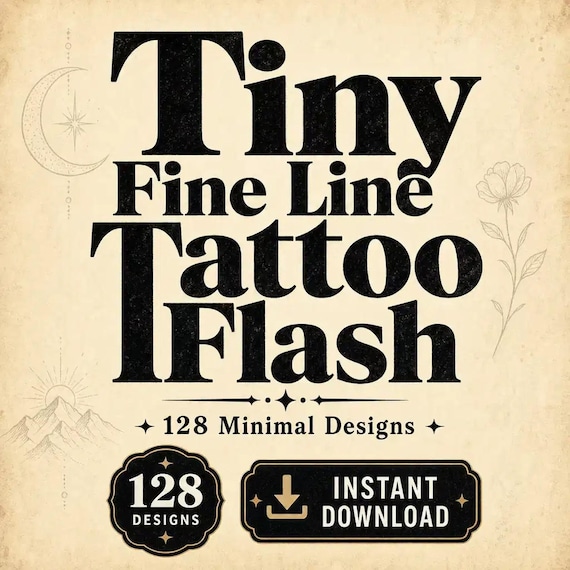
A PDF keeps several finished pages together and is often the simplest choice for a straight test print. The featured tiny fine-line bundle states that it includes 128 separate transparent PNG designs on 1200 by 1200 pixel canvases, eight A4 PNG sheets, eight matching A4 JPG sheets at 2480 by 3508 pixels and 300 DPI, and one eight-page A4 PDF. It does not include SVG or other vector files, Procreate brushes, a temporary tattoo, or a ready-made transfer. Check the current product page before purchase because the listing is the final source for what is included.
- Use the PDF when page order and straightforward printing matter most.
- Use a full-sheet JPG or PNG when you want one themed overview as an image.
- Use a stated transparent individual PNG when you need one design in a new reference layout.
- Choose another file type or tool if your workflow specifically requires editable vector paths or a brush set.
Unzip once, then protect the original files
Download the files to a device that can open ZIP folders, then create one clearly named parent folder. The featured bundle is described as three organized ZIP downloads with a README. Extract each ZIP into that parent folder rather than opening files repeatedly from inside the compressed archive. Keep the folder names supplied by the seller until you understand how the themes and formats are grouped. Open the README before moving or renaming anything because it may contain delivery, license, and use notes that belong with the artwork.
Make a working-copy folder beside the untouched originals. Use the working copy for crops, annotations, page layouts, and print experiments. This protects you from overwriting a clean design or losing the original proportions after several edits. If you use cloud storage, let the files finish syncing before opening them in another app. For Etsy downloads, a desktop or mobile web browser may be easier than the shopping app; use the current instructions in your Etsy Purchases area if the download button is not visible.
- Keep the original ZIP files until the extracted folders have been checked.
- Store the README and license note with the artwork.
- Edit copies, not the only clean version of a design.
- Use short, useful working names such as celestial-03-consult instead of changing every source file.
Build a short consultation set instead of showing everything
A large bundle is easier to discuss when it becomes a small, labeled shortlist. Browse the themed sheets first and choose a few designs that share the style or subject you actually want. Record the theme and source file for each choice so you can find the clean original later. A screenshot can be useful for a quick note, but keep the downloaded source file available; a screenshot may be compressed, cropped, or too small for useful review.
Place three to six choices on one reference page, or print the relevant full sheet and mark the design numbers in the margin. Add plain notes about what attracts you to each option: the subject, overall shape, amount of detail, orientation, or relationship to another element. Do not try to make the final technical decisions alone. The consultation set should make the conversation faster, not lock the artist into an unsuitable scale or copied placement. Ask which details need to be simplified, redrawn, spaced differently, mirrored, or adapted for the body area and the artist’s normal process.
- Limit the first round to a few serious options.
- Keep the theme and original filename beside each selection.
- Describe what you like rather than presenting an edited image as final artwork.
- Bring the clean source files so the professional can assess them directly.
Run one measured test print before printing the full pack
Print settings can change the apparent size of a design. A PDF print dialog may offer options such as Fit, Actual size, Shrink oversized pages, or a custom percentage. Fit can reduce or enlarge a page to match the printer’s printable area, while Actual size avoids deliberate scaling but may crop a page that does not fit the selected paper. Because the featured sheets are A4, buyers using US Letter paper should expect the page and printer settings to matter. The safest first step is one test page, not the entire bundle.
Before printing, write down the selected paper size and scaling option. After printing, measure a known page dimension or add a simple ruler beside a working-copy design in your layout. If the measurement is not what you expected, change the setting and test again. Label the successful print with the scale and date so it is not confused with another version. A paper reference helps compare visual size and readability, but it is not automatically a tattoo stencil or proof that a design will work at that size on skin.
- Confirm A4 or US Letter before pressing Print.
- Note whether the app is using Fit, Actual size, or a custom percentage.
- Measure the output instead of trusting the preview window alone.
- Print one page first, then repeat the confirmed setting for any additional reference sheets.
Check readability at the proposed size
A design that looks open and clear on a large screen can feel crowded when it is printed small. View the test at normal reading distance, then look closely at narrow gaps, tiny enclosed spaces, delicate lettering, closely packed lines, and details that merge into a dark patch. Compare two or three sizes on the same page if the consultation would benefit from seeing the difference. Keep the proportions locked when resizing so circles, faces, flowers, and symbols are not stretched wider or taller by accident.
Use the print only to identify questions. Ask the tattoo professional which lines need more room, which details may soften with time, whether the silhouette suits the intended area, and whether the design needs to be redrawn rather than simply enlarged. Skin, placement, technique, healing, and long-term readability are professional considerations that a downloaded image cannot resolve. If the design depends on extremely small details or a precise final size, be willing to change the size, simplify the artwork, or choose another design after the consultation.
- Look for gaps or details that disappear at a glance.
- Resize proportionally; never drag only one side of the image.
- Compare a few measured options instead of guessing from phone zoom.
- Treat the artist’s redrawn version and final stencil as the working authority.
Use individual transparent PNG files without losing quality
When a bundle includes separate transparent PNG files, place a copy into a new document rather than cutting a design out of a screenshot. Start with a page or canvas large enough for the reference you want to make, import the PNG, and resize from a corner with proportions locked. A checkerboard in many design apps indicates transparency, but the reliable check is to place the file over a temporary colored rectangle. If a white box appears, confirm that you opened the stated transparent file rather than a JPG, a full-sheet image, or a flattened export.
The featured individual designs use 1200 by 1200 pixel canvases. That is a raster source, not a promise of unlimited enlargement. Repeatedly saving a JPG, enlarging a small screenshot, or exporting through several messaging apps can soften edges. Return to the clean downloaded PNG whenever you start a new layout. Save the editable working page if your app supports it, then export a separate PDF or image for the consultation. Do not distribute the raw assets or a reconstructed bundle; follow the included license for personal, client, and small-business use.
- Import the original PNG instead of copying a preview from the listing.
- Verify transparency over a temporary contrasting color.
- Keep proportions locked and avoid repeated lossy exports.
- Save the consultation layout separately from the untouched download.
Prepare useful questions for the tattoo professional
Bring the shortlist, clean source files, test prints, and a simple note about approximate placement and size. Tell the artist which parts are essential to you and which parts are flexible. Useful questions include whether the line spacing works for the proposed scale, whether the design should be simplified, whether an element should be mirrored or reoriented, and what changes the artist recommends for the body area. If you want several small designs, ask whether their spacing and order should be planned together rather than one at a time.
A digital flash file does not replace the artist’s drawing, consent, hygiene, placement, or stencil process. Do not use a home printout as a transfer and do not assume the on-screen dimensions equal the final tattoo dimensions. The professional should inspect the artwork, make any required adaptation, prepare the final stencil through the studio’s normal method, and confirm the design with the client. If a shop cannot explain how it will adapt and prepare the art safely, pause and choose an appropriately qualified professional.
- Which details need to change at this size?
- Does the orientation suit the intended placement?
- Should any lines, gaps, or lettering be simplified?
- What file or reference does the artist want before the appointment?
Check the bundle fit before opening Etsy
Use the listing preview as a contents check. For the featured tiny fine-line pack, look for the eight themed A4 sheets, examples of the individual designs, the stated PNG, JPG, and PDF formats, and clear wording about the three ZIP downloads. Confirm that your device can unzip files and open the format you plan to use. If you need vector paths, layered source files, a Procreate brush set, a physical flash book, a temporary tattoo, or a ready-made transfer, this bundle is not described as providing those items.
Choose a theme-specific nearby pack when a focused subject will be easier to review than a large mixed library. Choose the 128-design bundle when you want broad variety plus separate transparent PNG files for making reference layouts. In either case, read the current license, creative disclosure, digital-delivery note, and professional-use reminder before checkout. The best fit is not the pack with the most files; it is the one whose actual formats, subjects, and allowed uses match the way you plan to browse, print, discuss, and professionally adapt the artwork.
- Confirm the exact number and type of files on the current listing.
- Check whether designs are separate files, complete sheets, or both.
- Verify software and ZIP compatibility before purchase.
- Skip the download when your required format or use is not stated.
Set up the useful core in twenty minutes
Spend the first five minutes downloading the ZIP files, extracting them into one parent folder, and reading the included notes. Use the next five minutes to open the full PDF or themed sheets and mark three to six serious options. During minutes ten through fifteen, copy only those individual designs into a working consultation page when separate PNG files are available. Keep each original filename in a note beside the selection.
Use the final five minutes for one measured test print and a question list. Record the paper size and scale setting, check the output with a ruler, and write down the details you want the tattoo professional to assess. At the end, you should have one clean source folder, one small shortlist, one labeled test page, and a handful of useful questions. Stop there. Final design changes, placement decisions, line adjustments, and stencil preparation belong in the professional consultation, not in a rushed home-editing session.
- Minutes 0–5: extract, organize, and read the included notes.
- Minutes 5–10: browse the complete sheets and choose a shortlist.
- Minutes 10–15: make a labeled reference page from clean files.
- Minutes 15–20: test print, measure, and prepare consultation questions.
Printables used in this guide
Instant downloads from the SteadyStackStudio Etsy shop.
Fine Line Tattoo Flash Sheet Bundle
Tiny Fine Line Tattoo Flash Bundle — 128 minimal designs in one instant-download pack. A practical gift for a tattoo artist or…
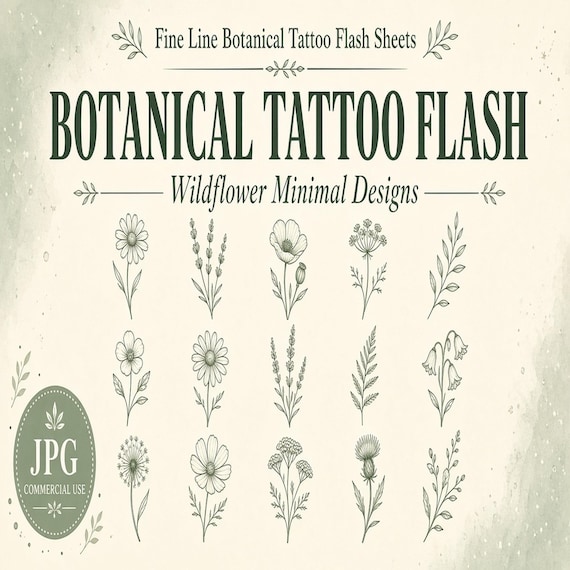
Fine Line Botanical Tattoo Flash Sheet
I built these fine-line botanical tattoo flash sheets for artists who need ready-to-print wildflower motifs without redrawing…
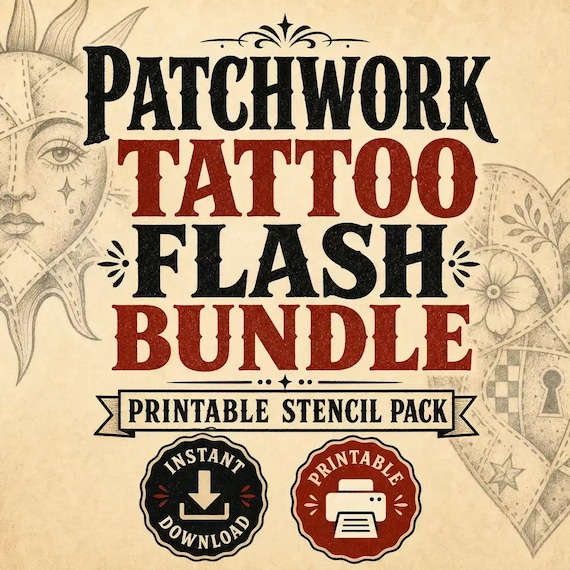
Patchwork Tattoo Flash Sheet Bundle
I built this patchwork tattoo flash sheet bundle for studios that need ready-to-print mixed motifs for flash-day walls without…
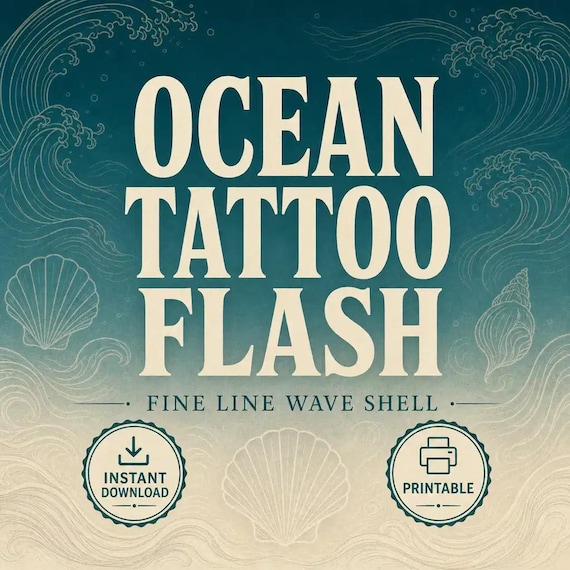
Ocean Tattoo Flash Sheet
I built these fine-line ocean tattoo flash sheets for coastal studios and artists who need ready-to-print wave and shell motifs…