Service Business Forms · Aug 2, 2026 · 13 min read
From Field Notes to Report Handoff: Organizing Home Inspection Photos and Issue Callouts
A practical setup for keeping field notes, issue references, inspection photos, tracker entries, and report callouts aligned from the first working copy through final review.

Verify that the download matches your report-organization task
The current Home Inspector Report Callout Kit is an instant digital download built around an Excel issue tracker, printable field-note and callout PDF pages, editable PowerPoint photo-note templates, a quick-start PDF, and a README/license note. That mix is useful when the problem is not collecting more files, but keeping the same finding recognizable while it moves from a rough note to a tracker entry and then to a report-ready photo callout.
It is an organization kit, not an inspection method. Before customizing anything, decide whether you need a cross-file workflow for notes and photos or a different tool entirely. The download does not supply inspection standards, engineering conclusions, licensing guidance, legal wording, or a substitute for the report system and professional procedures you are already required to use.
- Choose this kit when the main friction is matching notes, photos, status, and handoff details.
- Use your approved standards and professional process to decide what to inspect and how to describe it.
- Confirm that Excel, PDF, and PowerPoint files fit the devices and software used in your actual workflow.
- Remember that this is a digital ZIP download; no printed forms or physical supplies are shipped.
Preserve the delivered files and make a job-specific working set
Keep the downloaded ZIP and one extracted set untouched. Those files are your clean reset point if a formula, text box, layout, or blank page is changed accidentally. Create a separate working folder for customization, then create another copy for each property or project. This keeps a completed job from becoming the starting point for the next one.
Open the quick-start PDF before changing the workbook or presentation templates. Then identify which file will capture early notes, which file will track the current issue list, and which file will hold the photo callouts used during report assembly. Giving each format one responsibility reduces the chance that three different versions of the same observation continue circulating.
- Keep one clean folder labeled as the original download and do not enter job information there.
- Keep one customized blank set for your business wording and internal labels.
- Create each job from that approved blank set, not from the last completed property folder.
- Save a small text note stating which customized blank is current if you maintain more than one version.
Give the property, visit, and files one consistent label
A note, photo, tracker row, and callout cannot stay connected if every file names the job differently. Choose a short internal job reference that fits your existing process and use it across the working folder, workbook, presentation, and exported review copy. The reference should distinguish the job without placing unnecessary private details in filenames that may appear in backups, recent-file menus, or shared folders.
Add the visit date or another approved version marker only where it helps separate real revisions. Avoid vague names such as final, final-new, and final-revised. A consistent job reference plus a clear review status makes it easier to tell whether a file is a working draft, an approved handoff copy, or an obsolete export.
- Use the same internal job reference in the folder and the main working files.
- Use dates in one format so versions sort in a predictable order.
- Mark drafts and approved review copies explicitly instead of relying on memory.
- Follow your own privacy, retention, and access rules when deciding what belongs in a filename.
Create an issue ID pattern before sorting notes and photos
A simple issue reference is the bridge between formats. It can be a short sequential code or another pattern already used by your business. The exact style matters less than consistency: one finding gets one reference, and that reference follows the related note, selected photos, tracker entry, and callout. Do not encode an unreviewed severity conclusion into the ID itself; keep the reference neutral and store classification in the appropriate reviewed field.
Test the pattern with a few fictional entries before using it on a live job. Confirm that the reference is easy to type, easy to read in a filename, and unlikely to be mistaken for a room number, photo number, or report page. If the supplied page or template does not have a dedicated issue-ID field, use an editable label or another clear working convention rather than forcing the reference into unrelated text.
- Use one reference for one finding unless your approved process specifically combines related observations.
- Do not reuse a retired reference for a different issue within the same job.
- Keep the identifier stable even when wording, status, or selected photos change.
- Document the pattern in the customized blank set so another authorized reviewer can understand it.
Capture field notes as factual source material
Use the printable field-note pages as working source material, not as a finished conclusion. Record enough context to find the same location and photo later: the stable issue reference, an approved location label, what was observed, and any follow-up needed under your established process. Write in plain factual language while the details are fresh, then reserve polished report wording and technical interpretation for the appropriate review step.
A short note is only useful if it can survive the handoff. Phrases such as check this or see photo usually fail once the author is no longer looking at the scene. Capture the distinguishing detail that lets you reconnect the note to the correct image and tracker entry. If something is uncertain, label it as needing review rather than converting uncertainty into a confident statement.
- Record observable details and location context without inventing a cause.
- Use the same location vocabulary throughout the job instead of switching labels halfway through.
- Mark illegible, incomplete, or uncertain notes for review before report assembly.
- Do not place access codes, unnecessary personal information, or unrelated client details on a working page.
Pair every retained photo with its issue ID and location
Photos become difficult to use when their connection to the note exists only in the inspector's memory. As soon as practical, identify the images you intend to retain and associate each one with the same issue reference used on the field note. Keep the original image available under your normal evidence policy, and create a working copy if you need to crop, annotate, resize, or place the image in a callout.
A photo filename or working index should answer two questions quickly: which job does this belong to, and which issue does it support? Add a sequence only when multiple images support the same issue. Do not rename files in a way that destroys the link to your original capture sequence if that sequence is important to your approved process. The goal is traceability, not a decorative naming system.
- Keep the job reference and issue reference visible in the working photo name or index.
- Use a simple sequence for multiple views of the same issue rather than creating new issue IDs.
- Separate original images from edited or annotated working copies.
- Remove accidental, duplicate, or unrelated images only according to your established retention procedure.
Move verified details into the Excel issue tracker
Treat the Excel workbook as the current index of the issues moving toward report handoff. Transfer a note only after you can read it, locate its supporting photo when one is needed, and confirm that the stable reference is correct. The tracker should point back to the working source material; it should not become a place where missing details are guessed simply to fill a row.
Customize headings only when they match a real part of your workflow, and keep a clean copy before making structural changes. If you add fields, prefer a small set that helps review: a stable reference, location, concise factual note, current review status, associated photo reference, and the next administrative action. Use your professional rules—not the spreadsheet—to determine the final technical language and any required classification.
- Enter one current row per issue reference unless your approved workbook design requires another structure.
- Use consistent location and status terms so the list can be filtered and reviewed reliably.
- Leave an unknown detail blank or flagged for review instead of supplying a convenient assumption.
- Check that photo references point to files that another authorized reviewer can actually locate.
Define priority and status labels before using them
The product description mentions priority labels, but a label is only useful when everyone using the working set understands it the same way. Before applying labels to a live job, define what each one means within your own approved process, who may assign or change it, and whether it describes review urgency, report status, or something else. Do not let an administrative color or word imply a technical conclusion it was never designed to carry.
Keep priority and status as separate ideas when your workflow needs both. An item can require prompt internal review while still being an unapproved draft, or it can be fully reviewed without having the same follow-up path as another issue. A short legend in the customized blank set can prevent each job from developing a new, incompatible vocabulary.
- Use only labels that have a written meaning in your current process.
- Keep draft, reviewed, revised, and ready-for-handoff states distinct when those stages matter.
- Avoid using color alone; include readable text so printed and grayscale copies remain understandable.
- Review label definitions whenever your report process or professional requirements change.
Turn approved notes into photo callouts in PowerPoint
Use the editable photo-note PowerPoint templates after the issue reference, selected image, and reviewed wording agree. Start from the customized blank presentation, duplicate a clean layout for the issue, place a working copy of the correct photo, and add the same stable reference used in the tracker. This turns the callout into another view of the current record rather than an independent summary that can drift away from it.
Keep the callout legible at the size in which it will actually be reviewed or exported. Use concise wording that supports the handoff, and preserve longer context in the appropriate report or tracker location. If you crop a photo for clarity, do not let the crop remove context needed for accurate review. Follow the report system, brand, and accessibility practices required by your business rather than assuming the presentation template replaces them.
- Duplicate a clean layout instead of copying an old issue with hidden leftover text.
- Confirm the issue reference and image before editing the callout wording.
- Check text size, contrast, image orientation, and page boundaries in the exported review format.
- Keep the unedited source image available when an edited working copy is used in the callout.
Reconcile the field note, tracker row, photo, and callout
Before a report handoff, run a four-part match for every issue you plan to include. The field note should carry the expected reference and location. The tracker should show the current reviewed wording and status. The retained photo should belong to that reference. The photo callout should use the same image, reference, and approved summary. If one element does not match, stop at the mismatch instead of updating the other three from memory.
Review in both directions. Start from the tracker and locate every supporting item, then start from the callout deck and confirm that every callout has a current tracker entry. This catches orphan photos, duplicate callouts, tracker rows that were never completed, and revised notes that did not reach the presentation. A small reconciliation step is more dependable than assuming the newest-looking file contains the newest information.
- Tracker to note: can the source observation be found and read?
- Tracker to photo: does the referenced image show the intended location and issue?
- Tracker to callout: do the reference, location, and reviewed wording agree?
- Callout to tracker: does every page in the handoff deck lead back to one current issue entry?
Keep corrections visible without duplicating the issue
A correction should update the current record without creating uncertainty about which version is approved. Keep the stable issue reference, mark the prior wording or callout as superseded according to your process, and record the revised status or review date where authorized users can see it. Avoid solving a wording change by creating a second issue reference unless it is genuinely a separate finding.
When a photo is replaced, update the tracker reference and the callout together. When a note is clarified, confirm that the presentation and any exported review copy receive the same revision. Retire obsolete exports from the active handoff folder so a reviewer does not choose the wrong attachment simply because it has a familiar filename.
- Keep one current version clearly identified for review and handoff.
- Use a revision marker or update note instead of adding final to several competing files.
- Re-run the four-part match after changing wording, status, or selected photos.
- Follow your retention policy for superseded notes and exports rather than deleting history casually.
Separate report organization from technical judgment
The templates can help arrange observations, images, labels, and follow-up details, but they cannot decide what a condition means or what language your report must use. Inspection scope, required statements, severity, recommendations, referral language, safety decisions, and local compliance remain part of your qualified professional process. Keep that boundary visible during customization so an administrative field is not mistaken for an authoritative standard.
If the kit's wording or structure conflicts with your approved report system, governing requirements, client agreement, or professional guidance, adapt or skip the template rather than forcing your work into it. When a question requires engineering, legal, licensing, or other specialist judgment, route it through the appropriate qualified source. A tidy callout is useful only when the underlying review is sound.
- Use the kit to organize information, not to establish inspection scope or conclusions.
- Review all client-facing wording under the requirements that apply to your business and location.
- Do not turn a generic priority label into a technical or safety determination.
- Keep professional decisions attributable to the approved reviewer, not to the template.
Prepare a clean review and handoff copy
Create the handoff copy only after reconciliation. Export or save it in the format your normal report-review process accepts, then open that exact file rather than trusting the editing view. Check the first page, a middle page, the final page, the longest callout, a portrait and landscape photo if both appear, and any page that changed during correction. This catches clipping, stale images, missing fonts, and unreadable labels before the file leaves the working folder.
The handoff package should contain only the files the recipient is authorized and expected to receive. Working notes, duplicate photos, blank templates, source presentations, and internal trackers may have different access and retention rules. Use your established delivery method and privacy controls; the download does not include a secure client portal or determine how confidential material should be transmitted.
- Confirm the job reference and review status on the exact file being handed off.
- Open the exported copy and inspect page boundaries, text, images, and callout references.
- Remove obsolete exports and unrelated working files from the delivery folder.
- Verify that the delivery method and recipient match your approved privacy and business process.
Archive the working set and retain a blank master
After the handoff, separate the completed job from the customized blank set. The completed folder should preserve the current approved copy and the supporting records your policy requires, while the blank master remains free of property details, notes, photos, and old statuses. This prevents the next job from inheriting hidden text, stale formulas, or embedded images from the last one.
Use the same folder and version structure on every job so retrieval does not depend on who created the files. Apply your own retention schedule, access rules, backup method, and deletion procedure to field notes, photos, tracker data, presentations, and exported reports. The kit can give the files a coherent path, but it does not provide storage security or set record-retention requirements.
- Confirm the customized blank set contains no prior job information before reusing it.
- Keep the approved handoff copy distinguishable from drafts and source files.
- Limit access to working and archived records according to your established rules.
- Test retrieval periodically so an archive is more than a folder that happens to exist.
Choose an adjacent tool by the next job
Choose the home-inspector callout kit when the next action is reconciling field notes, issue tracking, photos, and report handoff. Choose a construction estimate calculator when the task is building labor, material, overhead, markup, and quote math. Choose a real-estate deal analyzer when the task is evaluating purchase, rehab, rental, and return assumptions. Those spreadsheets answer different questions and should not be used as substitutes for inspection documentation.
For the property owner after the report, a home maintenance binder supports ongoing repair, warranty, utility, and contractor records, while an important-documents organizer maps where household records are stored. An vacation rental host welcome book and turnover tracker is designed around guest information and rental operations. Start with the job directly in front of you, compare the listed file formats, and select the smallest complete download that supports that job without adding a second system you will not maintain.
- Report notes and photo callouts: use the home-inspector organization kit.
- Bid and estimate calculations: compare the construction estimate spreadsheet.
- Investment assumptions: compare the real-estate deal analyzer.
- Ongoing household repairs and warranties: compare the home maintenance binder.
- Household record locations or rental operations: choose the dedicated organizer for that task.
Printables used in this guide
Instant downloads from the SteadyStackStudio Etsy shop.
Construction Estimate Template Spreadsheet
A practical bid calculator for contractors, remodelers, and handyman jobs. This is an instant digital download built for a solo…

Real Estate Deal Analyzer Spreadsheet
Stop making emotional real estate decisions. Analyze every deal with this professional spreadsheet.
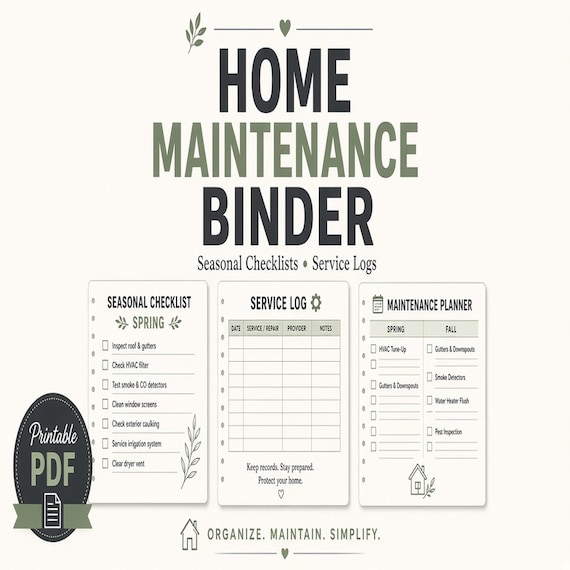
Home Maintenance Binder Printable
A practical home maintenance checklist for homeowners and renters who want repairs, warranties, utilities, and service contacts…
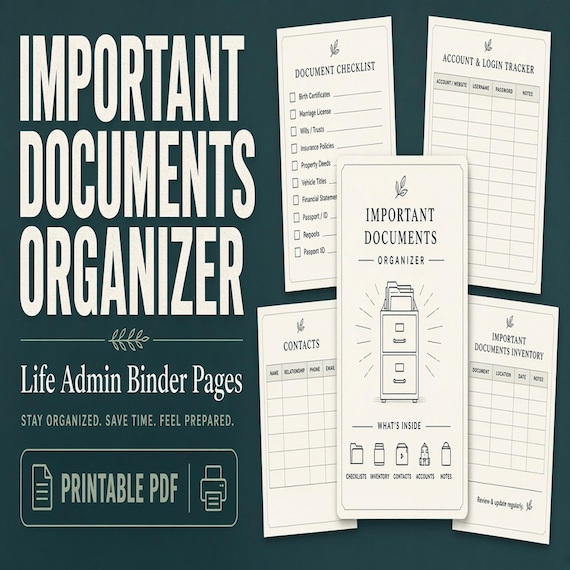
Important Documents Organizer
A practical important documents organizer for busy households that need one map for IDs, certificates, policies, records, and…