Digital Art & Coloring · Jul 20, 2026 · 12 min read
How to Print Witch Library Coloring Pages: PDF vs PNG, Paper, and Test-Page Setup
A practical printing workflow for choosing the combined PDF or individual PNG pages, matching paper to coloring tools and printer limits, checking scale and margins, and approving one test page before printing a full witchy coloring set.
Confirm what the current coloring-page download includes
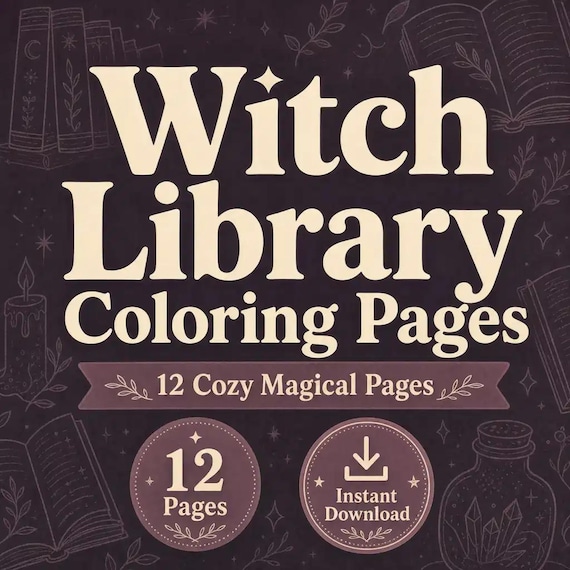
Start with the current product page and the files in the download rather than assuming that every printable coloring pack is arranged the same way. The featured Witch Library Coloring Pages pack presently describes 12 finished black-and-white coloring pages as individual PNG files, one combined printable PDF, and a README or license note. It is an instant digital download; no printed pages, book, paper, pencils, or markers are shipped.
Open the downloaded package and compare its folders with the current description before planning a full print run. Make sure the PDF opens, count the individual PNG pages, and locate the README. Use the supplied files rather than images copied from a listing preview. If a page, format, or term that matters to your project is not clear, pause and ask for clarification before spending paper or sending the set to a print service.
- Expect digital files rather than a physical coloring book.
- Verify the 12 PNG pages, combined PDF, and current README after download.
- Use the downloaded artwork, not screenshots of preview images.
- Read the current product page again if a project-critical detail is uncertain.
Choose the PDF or PNG files by the job you need to do
Use the combined PDF when you want to review or print the set in one orderly document. A PDF keeps the pages together, makes it easy to move through the pack, and is usually the simplest starting point for printing several pages with the same paper and settings. Before selecting Print All, look through the page thumbnails and note whether you want the complete set or only a smaller group for the current coloring session.
Use an individual PNG when you want one specific design, need to reprint a favorite without navigating the full document, or want to place a single page into a supported layout before printing. A PNG is a raster image, so preserve its proportions when resizing. Do not stretch it wider or taller, and do not enlarge it until the lines become visibly soft or pixelated. The best format is the one that reaches the intended page with the fewest unnecessary edits.
- Combined PDF: convenient for reviewing and printing several pages in sequence.
- Individual PNG: convenient for choosing or reprinting one design.
- Keep the original width-to-height proportions when placing a PNG.
- Avoid rebuilding a clean supplied page from a screenshot or compressed preview.
Keep an untouched master and make a printing copy
Save the original download, combined PDF, PNG folder, and README together in a clearly named master folder. Leave that folder unchanged. Create a second folder for print-ready copies, test notes, and any pages you place into another app. This small separation makes it easy to return to the supplied artwork if a working copy is cropped, compressed, renamed incorrectly, or saved with unwanted changes.
Give the working folder a simple structure such as tests, approved pages, and reprints. If more than one person uses the household printer, include a short note with the approved paper size, scale choice, paper type, and printer preset. Keep the original filenames somewhere in that note even if you create friendlier names for the working copies. A clean source and a brief record prevent the next coloring session from becoming another round of guessing.
- Keep the original package and usage note together.
- Print from copies rather than overwriting the supplied files.
- Separate test pages from pages you have already approved.
- Record the successful printer and paper choices for later reprints.
Decide between 100 percent and fit-to-page with one preview
The current listing directs users to print on Letter or A4 paper at 100 percent scale or with fit-to-page. Those options solve different problems. A 100 percent setting preserves the supplied size, while fit-to-page asks the print software to reduce or enlarge the page to fit the printer's printable area. Because home printers have different nonprinting margins, the same choice can produce a slightly different border or artwork size on another machine.
Open the print preview and inspect all four edges before committing paper. If 100 percent places line art outside the printable area, cancel and compare the fit option. If fit makes the artwork smaller than you want, return to the original and check that the correct paper size and orientation are selected. Do not combine several scale controls in the PDF viewer, printer dialog, and another layout app; one deliberate scale choice is easier to understand and repeat.
- Select the actual paper size loaded in the printer.
- Check portrait orientation unless the page preview clearly requires another choice.
- Inspect every edge for clipping in the print preview.
- Change one scale control at a time and label the successful option.
Match the paper to the coloring tool and the printer
Choose paper by starting with the coloring tool you plan to use. Ordinary printer paper can be suitable for a quick pencil or crayon session, while a smoother or sturdier sheet may feel better for a page you want to keep. Markers and wetter tools may show through or bleed depending on the paper, ink, pressure, and number of passes. No single sheet is automatically right for every tool, printer, and finished use.
Check the printer manufacturer's current guidance before loading specialty or heavier paper. Confirm the supported size, paper path, printable side, and weight or media range instead of assuming that any craft paper will feed safely. If the preferred art paper is outside the printer's supported range, use a compatible alternative or a print service. Test one sheet from the exact paper package you intend to use, because the screen preview cannot confirm feeding, line sharpness, drying, or coloring behavior.
- Define the coloring tool before choosing the paper.
- Check the printer's supported media rather than guessing from paper thickness.
- Identify the printable side when the paper has different surfaces.
- Use one sheet from the real pack for the first test.
Set up the printer for a clean black-line test
Load one sheet and open the print dialog from the PDF viewer or image app you trust. Confirm the printer, paper size, media type, orientation, scale, and one-sided or two-sided setting. Choose one-sided printing when you want a blank back for coloring or when the chosen medium may show through. If the dialog offers black-and-white or grayscale output, preview the result and use the setting that preserves the line art clearly on your machine.
Use the printer maker's current instructions for quality, tray, and specialty-paper settings. A high-quality mode is not automatically necessary for every coloring session, and a draft mode may make fine lines too pale on some printers. Start with a normal setting that matches the loaded paper, then change only one variable if the test is not acceptable. Check ink or toner warnings, clear any old paper-size prompts, and avoid queuing all 12 pages until the first sheet has passed inspection.
- Confirm printer, paper size, media type, orientation, scale, and one-sided output.
- Use a setting that keeps the supplied black lines clear without unnecessary changes.
- Follow the current printer instructions for the loaded paper.
- Queue only one page for the first test.
Choose a representative page and approve the whole sheet
Pick one page that represents the detail you care about. A page with both broad outlines and smaller interior spaces can reveal more than the simplest design in the pack. Print it, let the printer finish and the ink settle as directed for that paper, then place the sheet under ordinary room light. Look at the artwork at normal viewing distance before examining it closely.
Approve the entire sheet, not only the center. Check that the top, bottom, and side borders are present; the page is not unexpectedly rotated; curves and small details remain distinct; and no banding, smearing, gray background, or repeated printer mark distracts from the design. Compare the printed proportions with the preview. Write the file name, paper, scale choice, and preset on the back of the test or in your note so a successful result can be repeated.
- Use a page with a useful mix of large and small line details.
- Check all four edges and the overall proportions.
- Inspect line clarity, background tone, banding, and smearing.
- Record the exact combination that produced the approved sheet.
Diagnose a failed test without changing everything at once
If an edge is missing, return to the print preview and compare paper size, orientation, 100 percent, and fit-to-page. If the artwork is unexpectedly tiny, check whether both a layout app and the printer dialog are scaling the page. If lines look soft, confirm that you opened the original downloaded PNG or PDF instead of a reduced preview, message attachment, or screenshot. If the page is rotated, correct the orientation rather than stretching the artwork to fill the sheet.
Printer-specific marks need printer-specific care. For banding, smears, feeding problems, or repeated streaks, follow the manufacturer's maintenance and paper guidance. Do not run repeated cleaning cycles or force thick media without checking those instructions. Change one factor, label the second test, and compare it with the first. A controlled sequence makes it clear whether the improvement came from scale, paper selection, quality mode, or a printer maintenance step.
- Clipped edge: recheck paper size, margins, orientation, and scale.
- Soft lines: return to the original downloaded file and avoid unnecessary enlargement.
- Skew or feeding trouble: verify the paper and loading method against the printer guide.
- Change one factor per test so the result remains understandable.
Test the coloring tool before committing to the full set
Use the approved print as a material test before printing the remaining pages. Try the actual pencils, crayons, gel pens, or markers in a small area that contains both open space and a narrow detail. Notice whether the paper accepts the pressure and layering you normally use, whether the printed lines smear, and whether color shows through to the back. Let wet media dry before deciding that the combination has worked.
Place a spare sheet or protective mat underneath when a tool may bleed through, and keep food, drinks, and finished pages away from the test area. If the paper buckles, pills, feathers, or allows too much show-through for the intended project, choose a printer-compatible alternative and run one new page. The goal is not to find a universally perfect paper; it is to approve a repeatable combination for the tool, printer, and finished page you actually want.
- Test the real coloring tools in both broad and detailed areas.
- Check smearing, show-through, surface damage, and drying behavior.
- Protect the table and the next sheet when markers may bleed.
- Approve the paper-and-tool combination before printing the rest.
Use individual PNG pages for selective reprints and layouts
The individual PNG files are especially useful when someone wants one favorite design, a replacement for a spoiled page, or a small themed selection rather than all 12 pages. Open the original PNG in an app that can show the page dimensions and print preview. Center it on the selected paper without distorting it, then use the same approved margin and scale method from the test sheet whenever possible.
If you place a PNG into a document with a title page, activity schedule, or personal binder divider, keep the coloring artwork on its own page unless the layout has been tested carefully. Added headers, borders, and decorative frames can reduce the available printable area and trigger extra scaling. Save the new document under a different name and retain the untouched PNG. Before printing, zoom out to review the full page and then inspect the actual print preview for clipping.
- Reprint from the original individual PNG rather than scanning a colored copy.
- Resize proportionally and keep the artwork inside the printable area.
- Save placed or labeled versions as new files.
- Repeat the proven test when a new app or layout changes the print path.
Prepare a simple file handoff for a print shop
A print shop can be helpful when the desired paper does not suit the home printer or when several clean copies are needed. Ask the shop what file types, paper sizes, margins, and paper options it accepts before uploading anything. The combined PDF may be convenient for a full set, while selected PNG files may suit a smaller order. Let the shop confirm which supplied format fits its workflow rather than converting everything in advance.
Request one proof or the smallest practical sample before approving the complete quantity. Check page count, order, scale, edge clearance, line darkness, paper surface, and whether the job is one-sided. Explain that the files are black-and-white coloring pages and state the intended paper size, but do not assume terms such as full bleed or borderless apply. Keep the receipt and approved specifications with your print note so a later reorder can match the first successful batch.
- Confirm accepted files, paper, margins, scale, and one-sided output with the shop.
- Send only the pages needed for the order.
- Approve a proof before authorizing the full quantity.
- Save the successful shop specifications for an accurate reorder.
Store printed pages and the approved setup for easy reuse
Let printed sheets dry or settle as required, then store them flat in a folder, portfolio, or binder that does not crush the corners. Separate blank pages from finished work so a clean copy is easy to find. If the activity is shared, label pencils and markers separately and keep any bleed-protection sheets with the coloring pages rather than rebuilding the table setup each time.
Update the print note after the first complete session. Record which page was used for testing, whether PDF or PNG was easier, the paper, scale, printer preset, and coloring tools that worked. Reopen the current README before sharing files, making finished projects for others, or using the artwork beyond a personal coloring session. The listing presently allows personal and small-commercial use in finished projects while prohibiting resale, redistribution, or repackaging of the raw files; the included current terms remain the final guide.
- Store blank and finished pages flat and separately.
- Keep the approved print note beside the master folder.
- Retain the README and check it before a different use.
- Do not share or repackage the original PDF or PNG files as another download.
Choose the witch library pack or a neighboring coloring theme
Choose the Witch Library pack when the cozy magical library theme fits the person or activity and a 12-page set with a combined PDF plus individual PNGs matches the planned print workflow. The current Cozy Book Lover, Dark Academia, Cottagecore Mushroom, and Stained Glass Flower packs also describe 12-page PDF-and-PNG sets with different visual directions. Compare the actual previews rather than choosing by title alone, especially when line density or subject matter affects what someone enjoys coloring.
The current Stained Glass Coloring Pages and Mandala Coloring Pages listings describe smaller six-page sets with a combined PDF and individual PNGs. A smaller pack can be the better fit for one activity, while a 12-page pack offers a longer themed collection. Before opening Etsy, write down the preferred theme, number of pages, paper size, printer limits, coloring tools, and whether the job needs the full PDF or selected PNGs. Then confirm the current preview, included files, digital-only delivery, and usage note on the product page.
- Choose by theme, previewed line style, page count, and intended coloring tools.
- Use a 12-page pack for a longer coordinated set when that is the real need.
- Use a smaller existing pack when one short activity is enough.
- Confirm the current files and terms immediately before purchase.
Printables used in this guide
Instant downloads from the SteadyStackStudio Etsy shop.
Witch Library Coloring Pages for Adults
Witch Library Coloring Pages — premium 12-page printable coloring pack for adults, teens, book lovers, cozy-creatives, and…
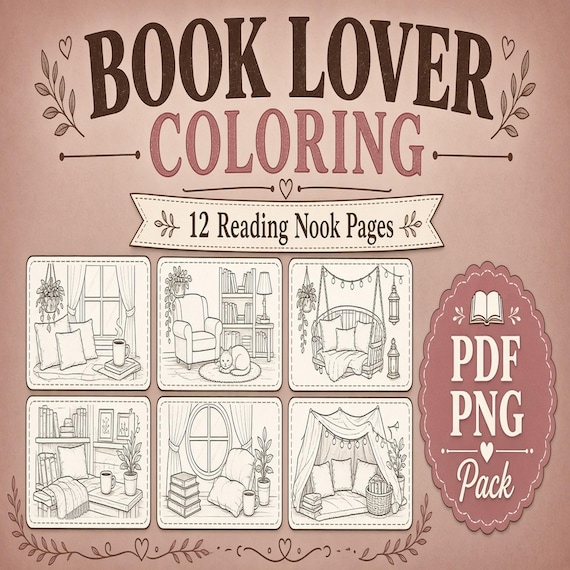
Cozy Book Lover Coloring Pages for Adults
Cozy Book Lover Coloring Pages — premium 12-page printable coloring pack for adults, teens, book lovers, cozy-creatives, and…
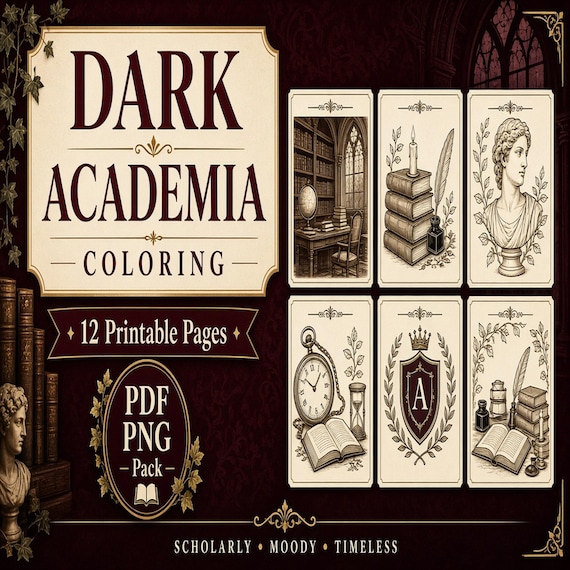
Dark Academia Coloring Pages for Adults
Dark Academia Coloring Pages — premium 12-page printable coloring pack for adults, teens, book lovers, cozy-creatives, and…
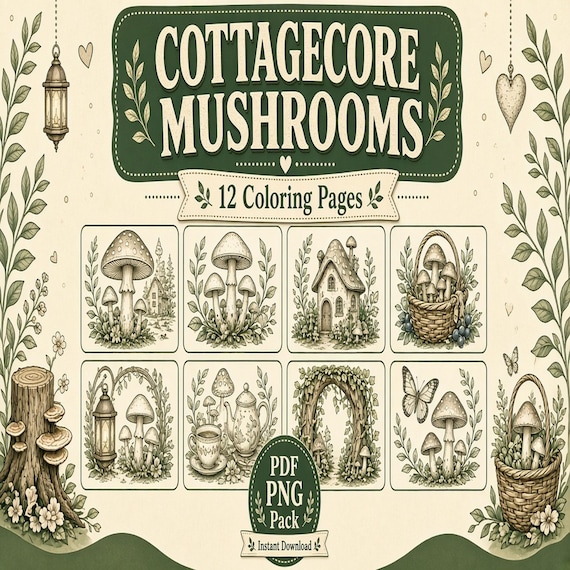
Cottagecore Mushroom Coloring Pages for Adults
Cottagecore Mushroom Coloring Pages — premium 12-page printable coloring pack for adults, teens, book lovers, cozy-creatives, and…