
Christmas & New Year · Aug 1, 2026 · 13 min read
How to Print and Assemble a Gift Card Booklet Without Wasting the Final Copy
A practical buyer guide to choosing the right occasion page, checking PDF scale, running a paper test, fitting the card or cash, and finishing one clean gift copy.
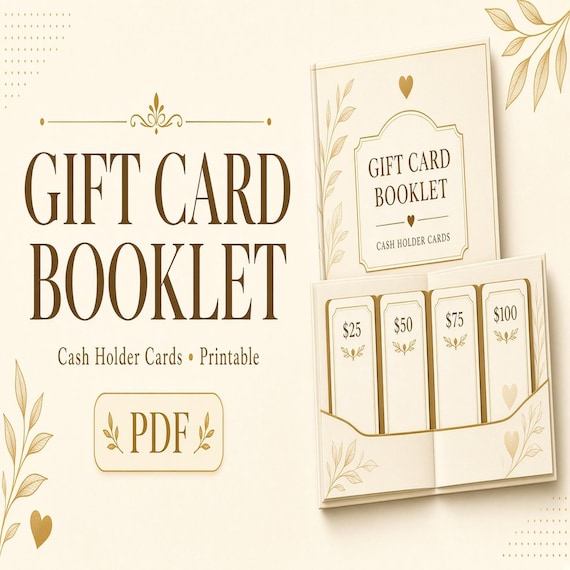
Confirm what the current download includes
The featured Gift Card Booklet Printable is currently described as an instant PDF download with printable definition-style gift cards and 5x7 pages, plus gift-card booklet or cash-holder-style pages. The current product description names birthday, graduation, Father’s Day, teacher-appreciation, and thank-you designs. It is a digital product; no printed card, gift card, cash, paper, envelope, adhesive, or finished booklet is shipped.
Review the current listing previews and file details before checkout, then compare the delivered PDF with that description before printing. Do not assume that a PDF is editable, personalized, or supplied with a particular attachment method unless the product page says so. The useful starting question is whether the pictured occasion, wording, page style, and digital format fit the gift you actually plan to hand over.
- Expect a downloadable PDF rather than a physical gift or printed holder.
- Confirm the occasion and visible wording in the current previews.
- Check the exact page and file details instead of relying only on the cover image.
- Plan to supply the gift card or cash and all printing and assembly materials yourself.
Match one page to the recipient before printing anything
A multi-occasion download is useful because it offers choices, not because every page needs to be printed. Start with the recipient and the moment. A graduation design should match the actual graduating class shown on the page; a teacher-appreciation design should suit the relationship and timing; a birthday or thank-you page should use wording that feels natural for the person receiving it. Read the complete visible text at normal size so a small subtitle or date does not create an awkward mismatch.
Choose one primary layout and, if needed, one backup before opening the print dialog. Decide whether the gift is a store card, a service card, cash, or a small note, because that affects the holder area you need to inspect later. If the current previews do not show enough of the chosen page to answer a recipient-critical question, resolve that question before purchase rather than planning to cover or rewrite unknown wording after printing.
- Name the occasion, recipient, and gift type before choosing a page.
- Read every visible word, date, and relationship label on the chosen design.
- Select one main layout and one backup instead of printing the whole file.
- Skip a design that requires hiding or changing important printed wording.
Keep a clean original and make a clearly named print copy
Save the delivered PDF in a folder named for the product and purchase date, then leave that original unchanged. Make a separate working copy for printing, page extraction, or any adjustment your software supports. This simple split matters when an app saves over a file, rotates a page, changes a crop box, or remembers an unsuitable print setting. Returning to a known clean source is much easier than diagnosing a modified copy on gift day.
Name the working copy by purpose, such as Teacher Thank-You Test or Birthday Holder Print, rather than final, final-two, and newest. Keep a short note with the printer, paper size, scale choice, orientation, and paper that worked. If someone else will print the page, share the clean PDF or the clearly identified page—not a screenshot from a preview, compressed message image, or photo of the screen.
- Preserve the downloaded PDF as the untouched source file.
- Use a duplicate for printing or supported page preparation.
- Give tests and approved copies names that describe their purpose.
- Keep the successful print choices with the working file for a reliable reprint.
Inspect the PDF page size and print preview together
The featured description names 5x7 pages, but the print dialog still needs to match the actual PDF page you select, the paper loaded in the printer, and the printer’s usable area. Open the file in a dependable PDF viewer and check the reported page dimensions. Then choose the correct printer, paper size, tray, orientation, and one-sided output. Look at all four edges in the preview before pressing Print.
Do not assume that a 5x7 finished design means every PDF page should be sent to a 5x7 sheet or that every home printer can print to the edge. The file may place a finished card within a larger page, or the selected printer may require margins. Let the actual PDF and preview answer that question. If the preview crops text or artwork, cancel and compare the supported scale choices instead of accepting a warning and hoping the trim will fix it.
- Check the selected PDF page rather than printing the document blindly.
- Match the printer, loaded paper, page size, orientation, tray, and one-sided setting.
- Inspect the top, bottom, left, and right edges in the preview.
- Treat the actual page dimensions and printer limits as the guide for setup.
Run a plain-paper test before using the final sheet
Print one chosen page on ordinary printer-compatible paper first. The test is meant to confirm page selection, orientation, scale, edge clearance, readable text, and the approximate relationship between the printed holder and the gift. It does not need premium paper or the highest color setting. Write the scale and orientation on the back immediately so two similar-looking tests do not become impossible to distinguish.
Compare actual size or 100 percent with fit-to-page only when both choices are available and appropriate for the file. Actual size preserves the supplied dimensions; fit can change them to keep content inside the printable area. Neither label is automatically correct for every PDF and printer. Measure the part that matters, check that no text is cut off, and fold or position the plain-paper test as the selected design indicates before approving the setting.
- Print only the selected page for the first test.
- Use inexpensive compatible paper while checking layout and scale.
- Label every test with its paper size, orientation, and scale choice.
- Approve the printed dimensions and all visible edges before moving to final paper.
Choose final paper by printing, folding, and carrying needs
The final sheet needs to pass through the printer cleanly and support the way the chosen page will be handled. Check the printer manufacturer’s current guidance for supported size, weight, finish, printable side, and feed path before loading specialty paper. A heavier sheet can feel structured, but it may feed poorly or crack at a fold. A lighter sheet may fold easily but feel too flexible around a card. There is no universal best paper for every machine and layout.
Test one sheet from the actual paper package with the approved settings. Let the ink or toner settle according to the paper and printer instructions, then inspect text, dark areas, pale lines, and edges under ordinary room light. Gently test any required fold on a spare printed area before preparing the gift copy. If a local print shop will handle the job, ask it to confirm accepted PDF size, paper options, margins, and a one-copy proof instead of guessing at its setup.
- Use only paper your printer and feed path are designed to accept.
- Test the printable side, feeding, image quality, and fold behavior on one sheet.
- Do not assume that the thickest stock makes the best booklet.
- Approve one shop proof before ordering extra copies or special paper.
Trim and fold only where the selected design supports it
Study the actual printed page before picking up scissors, a trimmer, or a scoring tool. Identify the outside edge, any printed trim marks, the intended front and back, and any fold or holder cues that are visibly present. If the page does not clearly show a cut, slot, or fold, do not invent one from a styled mockup. Recheck the current product instructions or ask for clarification before making an irreversible cut.
Use a protected, uncluttered surface and a cutting method you can control safely. Make one outside cut on the test copy, then compare it with the artwork before repeating the step on final paper. For a fold, mark the direction on the test, align the edges without forcing them, and crease gradually. Specialty or thicker paper may benefit from a paper-appropriate scoring method, but test first so the printed surface does not crack or the fold does not land through important text.
- Separate visible cut guides, fold guides, artwork borders, and decorative lines.
- Practice the complete trim and fold sequence on the plain-paper test.
- Use safe tools on a protected surface and keep hands clear of blades.
- Stop when the design does not provide enough information for a permanent cut.
Dry-fit the gift before attaching it
Test the holder with a safe size reference before using the active gift card or real cash. An expired card, blank sample card, or accurately sized paper surrogate can reveal whether the planned area is too tight, too loose, or visually unbalanced. Different gifts and card packaging can vary, so compare the actual item later without forcing it into a cut, pocket, or fold. The test should answer whether the gift sits securely, the design stays readable, and the finished piece can close or travel as intended.
For cash, use a same-size practice slip while testing folds and placement. Do not cut, tape, or glue the money itself. Check what the recipient will see first and whether the gift can be removed without tearing the printed piece. If the chosen page does not provide a clear holder area for the planned item, use a separate envelope or choose another current design instead of modifying the artwork until it becomes fragile or confusing.
- Test dimensions with an inactive card or paper stand-in first.
- Place the real gift gently and never force it into a tight opening.
- Keep the printed message visible and the gift easy to remove.
- Use a separate envelope when the planned item does not fit the selected layout.
Choose an attachment that protects the card and the print
The featured description does not promise that adhesive, photo corners, sleeves, or other attachment supplies are included, so plan to provide any method the chosen layout requires. Test that method on scraps from the final paper. A removable paper-safe option can be useful when it holds the card without bending it or pulling ink from the print, while a fitted paper pocket or slot should be used only when the actual design clearly supplies one and the cut has already passed the practice test.
Keep adhesive away from the gift card’s magnetic stripe, chip, barcode, activation label, redemption code, signature strip, and printed numbers. Do not cover information the recipient needs to use the card, and do not rely on a tiny adhesive contact to hold value during transport. For cash, secure the surrounding paper or envelope rather than the money. After assembly, remove and replace the test item once to confirm that the handoff works without damage.
- Supply and test any attachment materials separately from the download.
- Keep every functional card surface and redemption detail unobstructed.
- Attach the holder or envelope around cash rather than attaching cash directly.
- Practice one complete removal before placing the active gift.
Add a personal note without assuming the PDF is editable
The current featured product is described as a PDF, not as a personalized or editable template. Build the gift around the wording that is actually shown. If the printed page has an obvious writing area, test the intended pen on a scrap from the same paper and let it dry before writing the final note. Keep the message short enough that it does not crowd the artwork, fold, holder, or recipient name already present in the design.
When the page has no clear writing area, add a separate handwritten note, small tag, or envelope insert rather than typing over the PDF or covering printed text. A useful message names the occasion, says why the person is appreciated or celebrated, and signs the giver’s name. The gift card amount does not need to be announced on the front. Check spelling and relationship labels before attaching the gift, when the printed piece can still be replaced without moving value from one holder to another.
- Treat the supplied PDF as finished artwork unless the current listing says it is editable.
- Test the pen on the final paper before writing the keepsake copy.
- Use a separate note when the design does not provide suitable writing room.
- Check names, spelling, occasion, and signature before final assembly.
Protect the value and the surprise during the handoff
Confirm that a purchased gift card has been activated according to the retailer’s instructions, and keep its receipt until the recipient has the gift. Do not photograph or leave exposed any redemption code, card number, PIN area, or receipt detail that could be misused. If the card came in protective packaging with important activation or use information, decide whether that packaging should stay with it instead of discarding it for a slimmer presentation.
Place the assembled print in a clean envelope, sleeve, small box, or other protective outer layer suited to its size. The outer package should prevent bent corners, loose cash, and a card slipping out while keeping the surprise private. For mailed or unattended delivery, follow the carrier, retailer, school, workplace, or venue rules that apply; when the value or handoff is uncertain, give it directly. Write the recipient’s name on the outer layer before several finished gifts are placed together.
- Confirm activation and retain the purchase receipt separately.
- Keep card numbers, redemption codes, PIN areas, and cash out of public view.
- Use an outer package that prevents bending and contains the gift securely.
- Label multiple gifts before transport and use a direct handoff when appropriate.
Fix one failed test at a time
When an edge is clipped, return to the preview and check the selected page, paper size, orientation, margins, and scale. When the finished holder is unexpectedly small or large, make sure the PDF viewer and printer driver are not both applying a size change. When text or artwork looks soft, print from the downloaded PDF rather than a screenshot or preview image. Label the next test and change only the setting connected to the problem.
Paper trouble needs a different response. For skewed feeding, smearing, banding, or a rejected sheet, follow the printer maker’s loading, media, and maintenance guidance rather than forcing the paper through. For a cracked fold, test a lighter compatible sheet or a paper-appropriate crease on scrap. For an attachment that tears the surface or releases too easily, remove the gift and test another paper-safe method on leftovers. Do not risk the active card or cash while diagnosing the printed holder.
- Clipped design: recheck paper size, orientation, printable area, and scale.
- Wrong finished size: look for more than one active scaling control.
- Poor image quality: return to the supplied PDF and the correct media setting.
- Weak fold or attachment: test a new material combination on scrap first.
Choose a broad booklet or a focused occasion holder
Choose the featured Gift Card Booklet Printable when several named occasions and booklet or cash-holder-style pages are useful in one PDF. The current Definition Card Bundle and Milestone Definition Cards also describe broad birthday, graduation, teacher, Father’s Day, and gift-card uses. Compare their actual previews, current file details, page wording, and finished style instead of treating similar occasion lists as proof that the files are identical.
A focused listing can be easier when only one handoff matters. The current Teacher Gift Card Holder is aimed at a teacher thank-you; the Graduation Gift Card Holder names a Class of 2026 design; and the Father’s Day Definition Card names Dad, Grandpa, Papa, and father-figure gifting. Open the current product page and choose the smallest download whose shown wording, page format, and holder style fit the recipient. More designs are not helpful when they add sorting but do not improve the one gift being made.
- Use a multi-occasion option when you can name more than one page you expect to use.
- Use a focused holder when one recipient and event are already decided.
- Compare current previews and file details rather than relying on similar titles.
- Do not buy a larger bundle to solve an unanswered size or wording question.
Use a one-copy finish check before giving the gift
Complete the gift in the same order you practiced: open the approved working copy, print only the chosen page with the recorded settings, allow the print to settle, trim and fold only at confirmed guides, dry-fit the item, add the note, and attach or contain the gift. Work with one final copy at a time. A small batch can save setup time, but it also multiplies a wrong page, misspelled name, reversed fold, or mismatched recipient.
Before sealing the outer package, read the front and inside once more. Confirm the recipient and occasion, clean edges, comfortable fold, secure but removable gift, private redemption information, active card or correct cash amount, and separate receipt. Gently lift and carry the finished piece the way it will travel. If anything shifts, catches, or reveals private information, correct the holder before handoff. The finished result should feel easy for the recipient to open and understand.
- Correct page, recipient, occasion, wording, and signature.
- Approved print setting, complete edges, clean trim, and tested fold.
- Activated card or counted cash held securely without damage.
- Codes and numbers covered, receipt retained, and outer package labeled.
- One final lift, close, open, and removal test before handoff.
Printables used in this guide
Instant downloads from the SteadyStackStudio Etsy shop.
Gift Card Booklet Printable
Gift card booklet printable — cut-ready cash and gift-card holders for graduation, dad, teacher, birthday, thank-you, wedding…
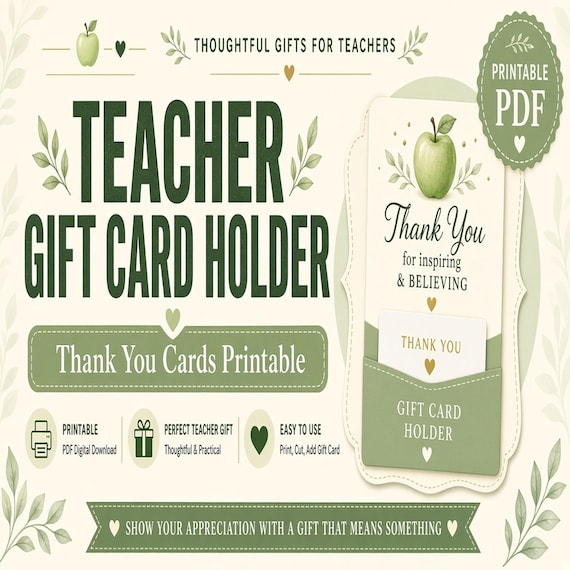
Teacher Gift Card Holder Printable
Make a teacher thank-you gift feel finished fast with a printable gift card holder / thank-you card PDF that you can download and…
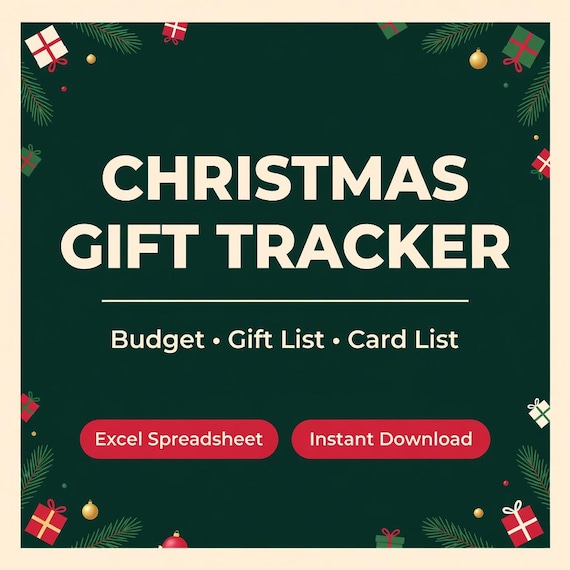
Christmas Gift Tracker Spreadsheet
Keep every Christmas gift, dollar, and card in one place. Type a budget, list your people, and add gifts as you think of them.…
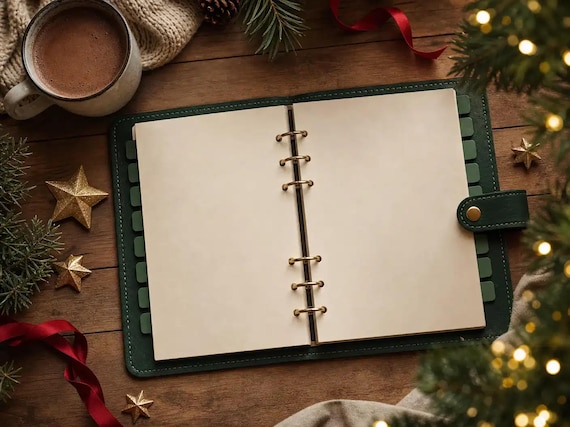
Christmas Planner Printable 2026
Plan the whole holiday season in one place: budget, gifts, cards, baking, Christmas dinner and an 8-week countdown, all in a clean evergreen and cranberry design.


